Introduction:
Table of Contents
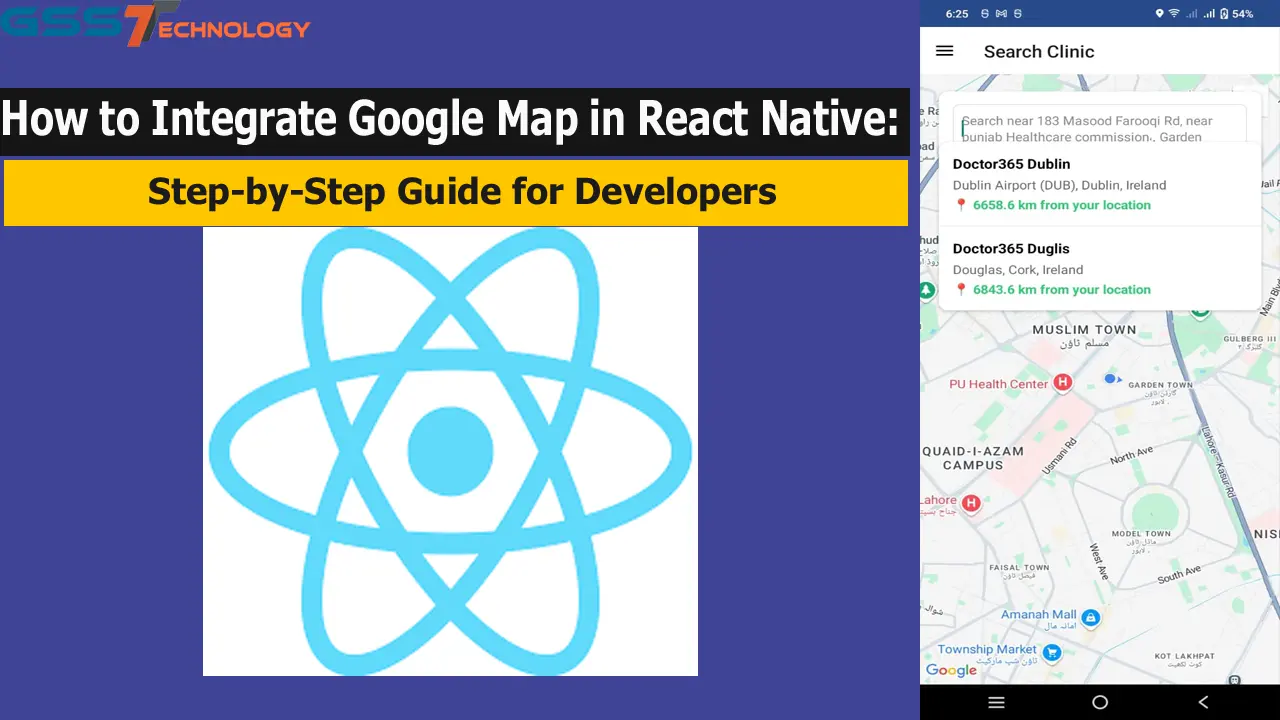
Hi, I’m Sharafat Hussain, a full-stack developer. Recently, I developed a clinic booking app where I successfully integrated Google Maps to provide users with a seamless experience in locating nearby clinics, booking appointments, and viewing real-time directions. Today, I’m excited to share this amazing Google Maps API integration with you in this step-by-step guide.
In this tutorial, you’ll learn how to integrate Google Map in React Native, an essential feature for apps dealing with location-based services. Whether you are building a delivery app, ride-sharing platform, or healthcare system, Google Map integration can significantly enhance your app’s usability and user experience.
Let’s dive in!
Why Use Google Maps in React Native?
Google Maps is one of the most popular and reliable mapping services used globally. It offers real-time navigation, geolocation services, and dynamic mapping that can be easily integrated into your mobile app. With Google Maps in your app, you can allow users to:
Track their location
View nearby businesses or services
Get directions
Visualize geographic data
And much more!
Given that I recently integrated Google Maps into a clinic booking app, I can tell you firsthand how it adds value to both users and developers. If you’re working on a similar project, integrating Google Maps will enhance your application’s functionality and user engagement.
Prerequisites
Before we get started with the integration, make sure you have the following:
Node.js and React Native CLI installed.
Android Studio or Xcode (depending on the platform).
A Google Cloud account to get the API key for Google Maps.
Step 1: Create a New React Native Project
Let’s begin by creating a fresh React Native project. Open your terminal and run the following commands.
npx react-native init GoogleMapIntegration
cd GoogleMapIntegration
This will set up a new React Native project for us to work on.
Step 2: Install Required Packages
To integrate Google Maps in our React Native app, we’ll need to install the react-native-maps library, which makes it easy to work with maps in React Native.
Run the following command in your terminal:
npm install react-native-maps --save-exactpod install
cd ..
Step 3: Configure Google API Key
Next, you’ll need to get a Google Maps API key.
How to Get an API Key:
Go to the Google Cloud Console.
Create a new project or select an existing one.
Enable Maps SDK for Android and Maps SDK for iOS.
Go to Credentials, and click Create API Key.
Copy the generated API key.
Step 4: Android Setup
To configure the API key for Android, open the file android/app/src/main/AndroidManifest.xml and add the following inside the <application> tag:
<meta-data
  android:name="com.google.android.geo.API_KEY"
  android:value="YOUR_API_KEY_HERE"/>
Make sure to replace YOUR_API_KEY_HERE with your actual API key.
Step 5: iOS Setup
For iOS, open the AppDelegate.m file and add the following import statement:
#import <GoogleMaps/GoogleMaps.h>Then, inside the didFinishLaunchingWithOptions method, add the following line to provide the API key:
[GMSServices provideAPIKey:@"YOUR_API_KEY_HERE"];
Ensure that the Maps SDK is enabled in your Info.plist file as well:
<key>NSLocationWhenInUseUsageDescription</key>
<string>Your location is used to show nearby results.</string>
Step 6: Basic Map Implementation
Now it’s time to add a basic Google Map to your app. Open App.js and add the following code to display a simple map:
import React from 'react';

import { StyleSheet, View, Dimensions } from 'react-native';

import MapView, { Marker } from 'react-native-maps';

const App = () => {
return (
<View style={styles.container}>
<MapView
style={styles.map}
initialRegion={{
latitude: 37.78825,
longitude: -122.4324,
latitudeDelta: 0.0922,
longitudeDelta: 0.0421,
}}
>
<Marker
coordinate={{ latitude: 37.78825, longitude: -122.4324 }}
title={"Marker Title"}
description={"Marker Description"}
/>
</MapView>
</View>
);
};


const styles = StyleSheet.create({
container: {
...StyleSheet.absoluteFillObject,
justifyContent: 'flex-end',
alignItems: 'center',
},
map: {
...StyleSheet.absoluteFillObject,
},
});


export default App;
This will display a map centered at the given coordinates (37.78825, -122.4324) with a simple marker.
Step 7: Enable Location Access
To access the device’s current location, you need to request permissions.
For Android:
In android/app/src/main/AndroidManifest.xml, add the following permission:
<uses-permission android:name="android.permission.ACCESS_FINE_LOCATION" /> For iOS:
In Info.plist, add this key to request permission for location usage:
<key>NSLocationWhenInUseUsageDescription</key>
<string>We need your location to show map features.</string>
Step 8: Show Current Location on Map
<MapView
style={styles.map}
showsUserLocation={true}
showsMyLocationButton={true}
initialRegion={{
latitude: 37.78825,
longitude: -122.4324,
latitudeDelta: 0.0922,
longitudeDelta: 0.0421,
}}
>
This will display the user’s current location and enable the “My Location” button on the map.
Step 9: Customize Markers and Maps
You can customize the appearance of the map and markers as per your requirements.
Here’s how you can customize the marker’s color:
<Marker
  coordinate={{ latitude: 37.78825, longitude: -122.4324 }}
  title={"Custom Location"}
  description={"This is a custom marker"}
  pinColor="purple"
/>
You can also change the map type:
<MapView
  mapType="satellite"
  ...
/>
Step 10: Handling Map Events
React Native’s MapView component allows you to handle various map events. For example, you can listen for region changes:
<MapView
  onRegionChangeComplete={(region) => {
    console.log('New Region:', region);
  }}
/>
Best Practices
Store your API key securely: Use environment variables to store your API keys.
Restrict your API key: Always restrict your key to your app’s package name or bundle ID for added security.
Optimize API calls: Use caching mechanisms to avoid excessive calls to the Google Maps API.
Common Errors and Fixes
Map Not Showing on Android: Double-check your manifest and ensure the correct API key is added.
Blank Screen on iOS: Verify that the Google Maps SDK is correctly configured in
AppDelegate.m.Permissions Issues: Ensure you’ve added the proper permissions for both Android and iOS.
If you’re facing frontend rendering issues like flickering or canvas animations on your map, check out our guide on how to fix flickering canvas animation in JavaScript for solutions.
Conclusion
And that’s it! Now you know how to integrate Google Map in React Native with a full setup. I hope this step-by-step guide will help you enhance your app by adding powerful location-based features. Whether you’re building a clinic booking app, a ride-sharing platform, or a local discovery tool, Google Maps integration is a must-have feature.
Feel free to modify the code to suit your app’s needs, and let me know if you encounter any issues. Happy coding!
Frequently Asked Questions (FAQs)
Q1: How to integrate Google Map in React Native?
To integrate Google Map in React Native:
Install the
react-native-mapslibrary.Get a Google Maps API key from Google Cloud Console.
Add the API key in
AndroidManifest.xmlfor Android andAppDelegate.mfor iOS.Use the
<MapView />component from thereact-native-mapspackage.Optionally add user location, markers, and map events.
Follow our full step-by-step guide above for detailed instructions.
Q2: How to integrate Google Map in Android App?
To integrate Google Map in a native Android app (Java/Kotlin):
Open your project in Android Studio.
Add the Google Maps SDK dependency in
build.gradle.Obtain a Google Maps API key.
Add the key in your
AndroidManifest.xml.Add a
MapFragmentorMapViewto your layout XML.Initialize the map in your activity using
onMapReady().
Google provides a complete official Android Maps guide you can follow.
Q3: How to integrate Google Map in Website?
To integrate Google Map on a website:
Get a Maps JavaScript API key from Google Cloud Console.
Add the Maps API script in your HTML file:
<script src="https://maps.googleapis.com/maps/api/js?key=YOUR_API_KEY"></script>Create a
<div>with an ID where the map will be displayed.Initialize the map with JavaScript:
var map = new google.maps.Map(document.getElementById("map"), {
  center: { lat: -34.397, lng: 150.644 },
  zoom: 8
});
This is the simplest way how to integrate Google Map in a static website.
Q4: How to integrate Google Maps (general query)?
The term “how to integrate Google Maps” can refer to integration in mobile apps (React Native, Android, iOS), websites (HTML/JavaScript), or backend services (Geocoding APIs). Choose the right Maps SDK (Android, iOS, Web, or APIs) based on your platform.
The basic process is:
Get an API key
Include SDK or library
Configure permissions
Initialize the map in your code
Q5: How to integrate Google Maps API in any app?
To integrate the Google Maps API:
Sign in to Google Cloud Console
Enable the required APIs (Maps SDK, Directions API, Places API, etc.)
Create an API key and apply restrictions.
Use the API in your frontend (React Native, Android, or web) or backend (Node.js, Laravel, etc.)
Example usage for Directions API:
https://maps.googleapis.com/maps/api/directions/json?origin=Toronto&destination=Montreal&key=YOUR_API_KEY
You can also use this with libraries like axios to call from your backend


